


So the RainbowKit Team released this amazing React library over a month ago to simplify the wallet connection process, But a lot of beginners still found it a bit difficult to use this library. And in this blog we will simplify this process even more.
But first, let's introduce it briefly.
Introduction
RainbowKit is a React Library that makes it easy to add wallet connection to your dapp. It's intuitive, responsive and customizable. It supports multiple wallets like Metamask, Coinbase Wallet, WalletConnect, Rainbow and many more.
Remember RainbowKit uses the wagmi react library behind the scenes, So let's introduce that briefly, Since we will be using it to build the rest of our dApp.
Introduction as per the official documentation
wagmi is a collection of React Hooks containing everything you need to start working with Ethereum. Wagmi makes it easy to "Connect Wallet," display ENS and balance information, sign messages, interact with contracts, and much more — all with caching, request deduplication, and persistence.
Okay enough of introductions, Let's start off with the connection process.
The first step is to install RainbowKit via a package manager, Here we will use npm.
npm install @rainbow-me/rainbowkit wagmi ethers
This will install RainbowKit and it's peer dependencies, wagmi and ethers manually.
Now we will import RainbowKit, wagmi and ethers into our app.
- Go to your _app.js file and paste the snippet below.
import '@rainbow-me/rainbowkit/styles.css';
import {
  getDefaultWallets,
  RainbowKitProvider,
} from '@rainbow-me/rainbowkit';
import {
  chain,
  configureChains,
  createClient,
  WagmiConfig,
} from 'wagmi';
import { alchemyProvider } from 'wagmi/providers/alchemy';
import { publicProvider } from 'wagmi/providers/public';
- This will import the necessary stuff that you will need.
- Further explanation of how all these things work will be given in my future blogs.
- The next step is to configure our desired chains and generate the required connectors and setup a wagmi client.
const { chains, provider } = configureChains(
  [chain.mainnet, chain.polygon, chain.optimism, chain.arbitrum],
  [
    alchemyProvider({ alchemyId: process.env.ALCHEMY_ID }),
    publicProvider()
  ]
);
const { connectors } = getDefaultWallets({
  appName: 'My RainbowKit App',
  chains
});
const wagmiClient = createClient({
  autoConnect: true,
  connectors,
  provider
})
- You can customize and change the chains you're working with so for example if I deployed my dapp on polygon testnet mine would look something like this.
const { chains, provider } = configureChains(
  [chain.polygonMumbai],
  [
    alchemyProvider({ alchemyId: process.env.ALCHEMY_ID }),
    publicProvider()
  ]
);
const { connectors } = getDefaultWallets({
  appName: 'My RainbowKit App',
  chains
});
const wagmiClient = createClient({
  autoConnect: true,
  connectors,
  provider
})
Click here to read more about all the supported chains on RainbowKit's official docs
The next step is to wrap your application with
RainbowKitProviderandwagmiConfig.
const App = () => {
  return (
    <WagmiConfig client={wagmiClient}>
      <RainbowKitProvider chains={chains}>
        <YourApp />
      </RainbowKitProvider>
    </WagmiConfig>
  );
};
- Well that's all you need to do inside of your _app.js file. Now head over to your desired file where you want to add the connect wallet button and paste the following snippet.
import { ConnectButton } from '@rainbow-me/rainbowkit';
export const YourApp = () => {
  return <ConnectButton />;
};
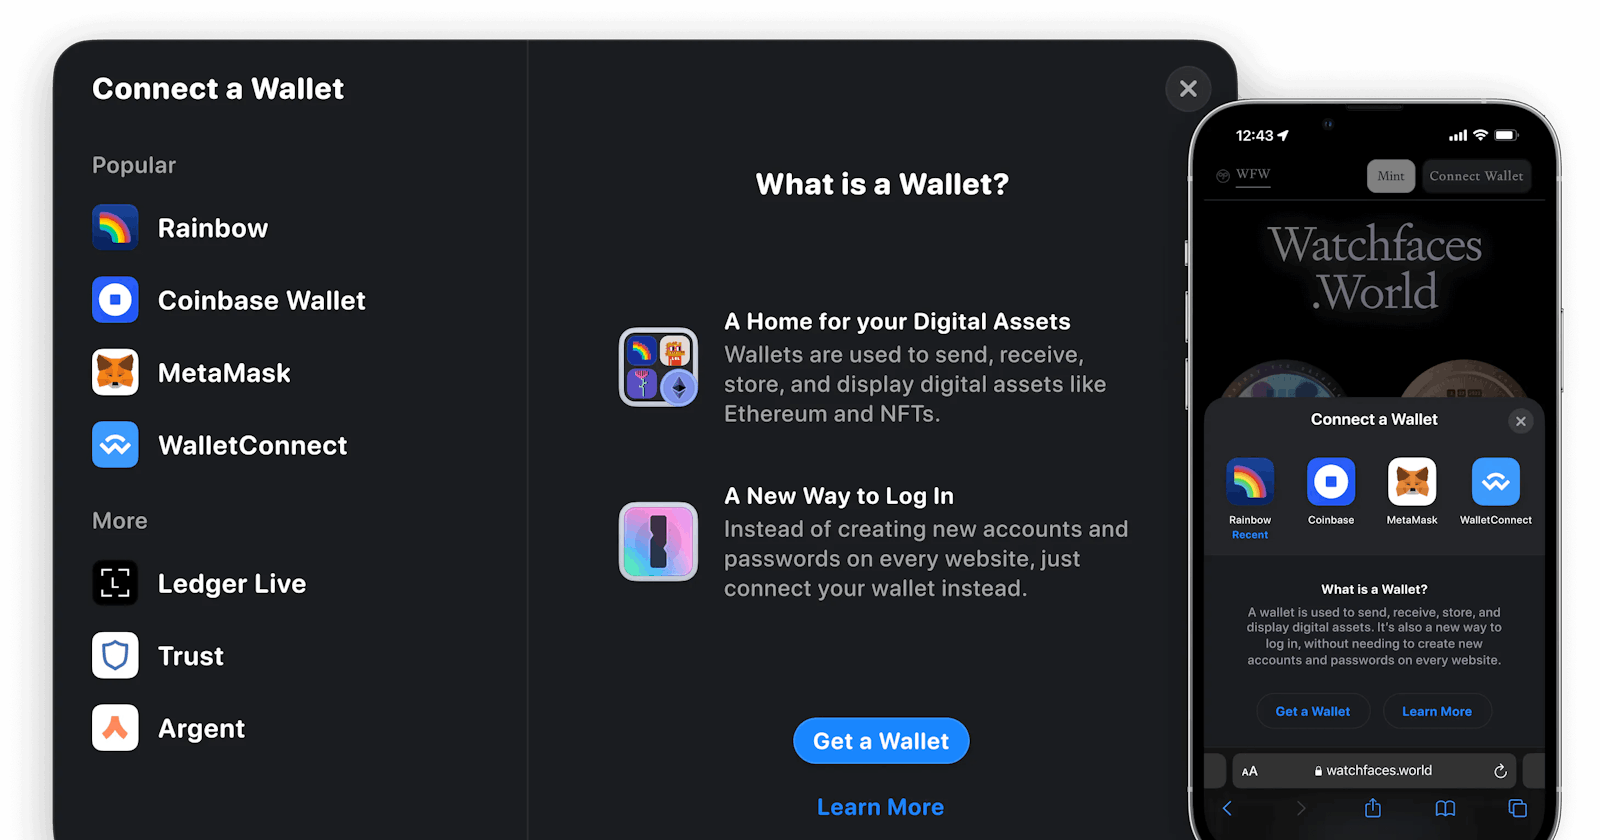
- This will add the ConnectButton component into your app.
Well done, Now you will be able to see the wallet connect button up and running on the page, That wasn't so difficult was it?
I know you already love RainbowKit just like me, Don't worry in the future blog posts I will be exploring this amazing product in more depth and there will also be a lot of videos on my Youtube Channel about RainbowKit and Wagmi. We will also be building a lot of dApps using these two, So stay tuned and trust me I won't make you wait for too long ;)